Applying for University of Lahore is not frustrating and hard like other universities. If you have the internet connection, you can apply online in no time.
University of Lahore (UOL) is one of the largest private universities of Pakistan, and is accredited by HEC, PEC, PM&DC, PCP, PNC, and PBC.
Without wasting your time, let’s jump in the steps to get admission:
Step 1 – Visiting the Site
Go to admissions.uol.edu.pk and click on Register as New Applicant.

Note:
When admission is not opened, then the button Register New Applicant will not be visible rather this will appear:
Admissions will re-open on 10-Aug-2017 for 2nd Admission Campaign of Fall 2017
Step 2 – Enter Your Bio
Now enter your first name, last name, country of origin, city, source of information, e-mail address, and mobile number. The name should be the same as written on your CNIC or B-Form.
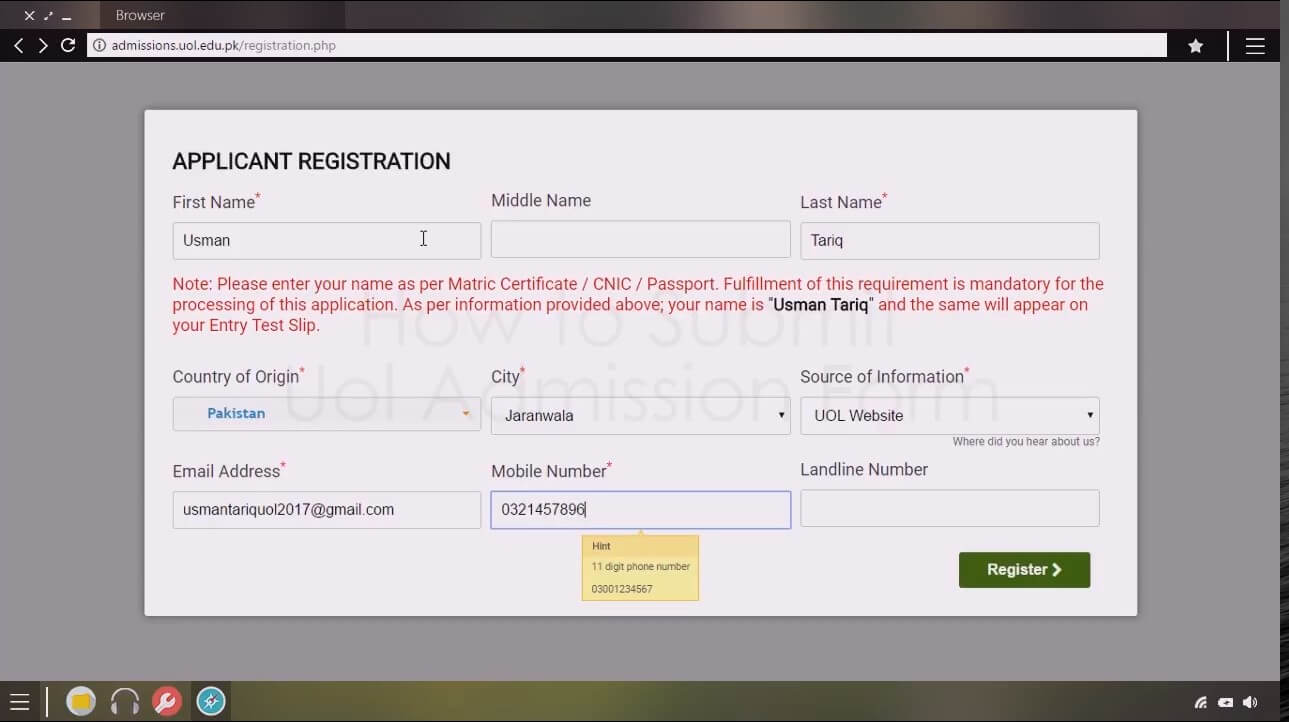
Step 3 – Register and Verify Your E-Mail
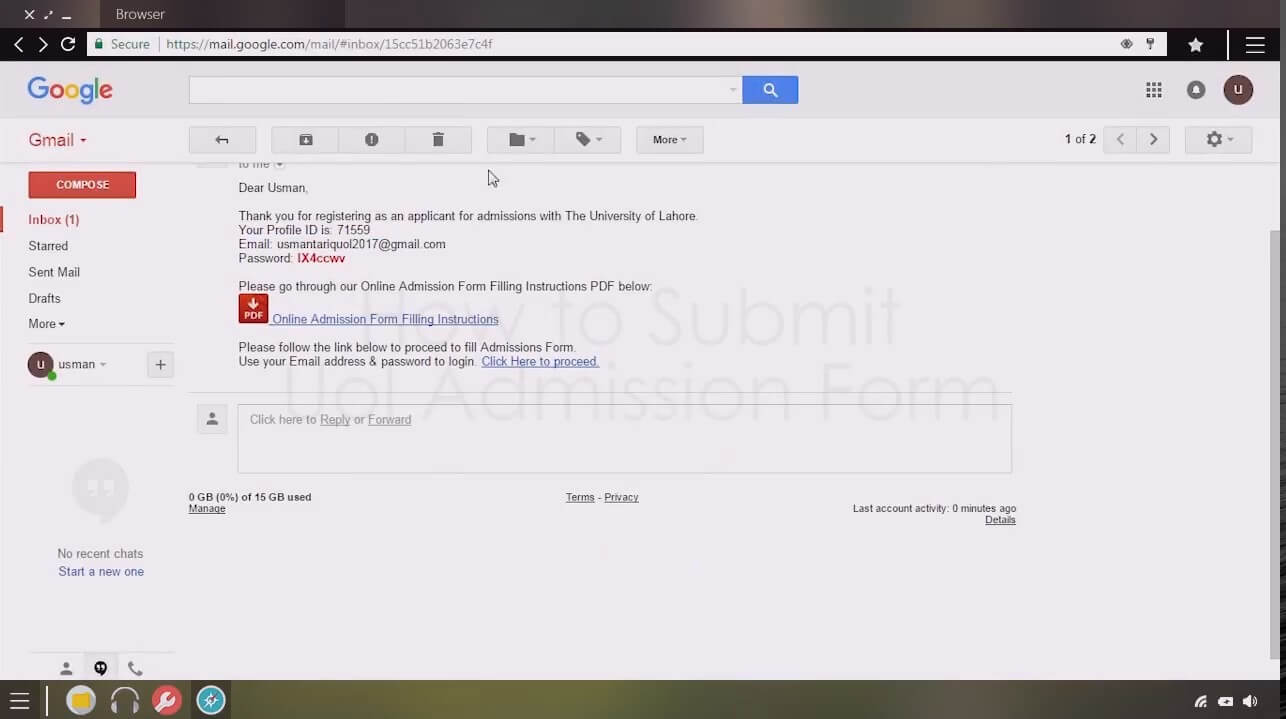
An e-mail will be sent to your e-mail where you will get your Profile ID and the password. Then Click to Proceed, It will redirect to another webpage.
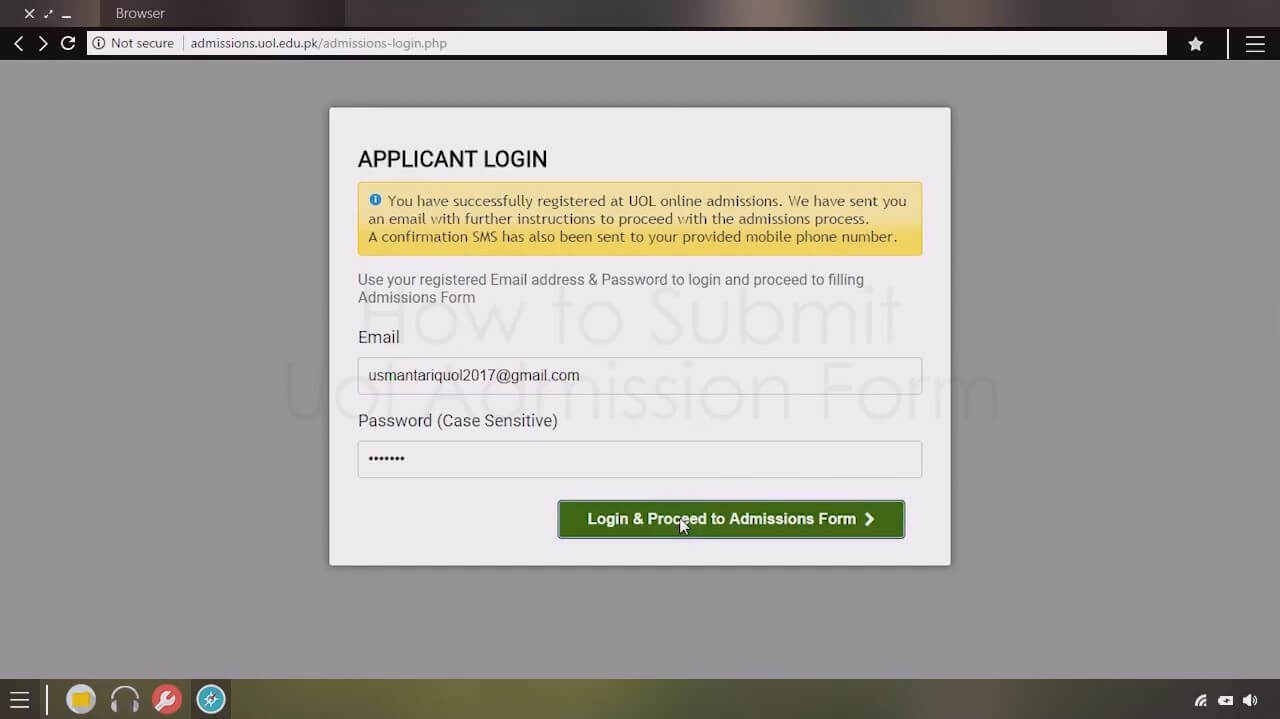
Step 4 – Login
Now write your e-mail and password sent to your e-mail.
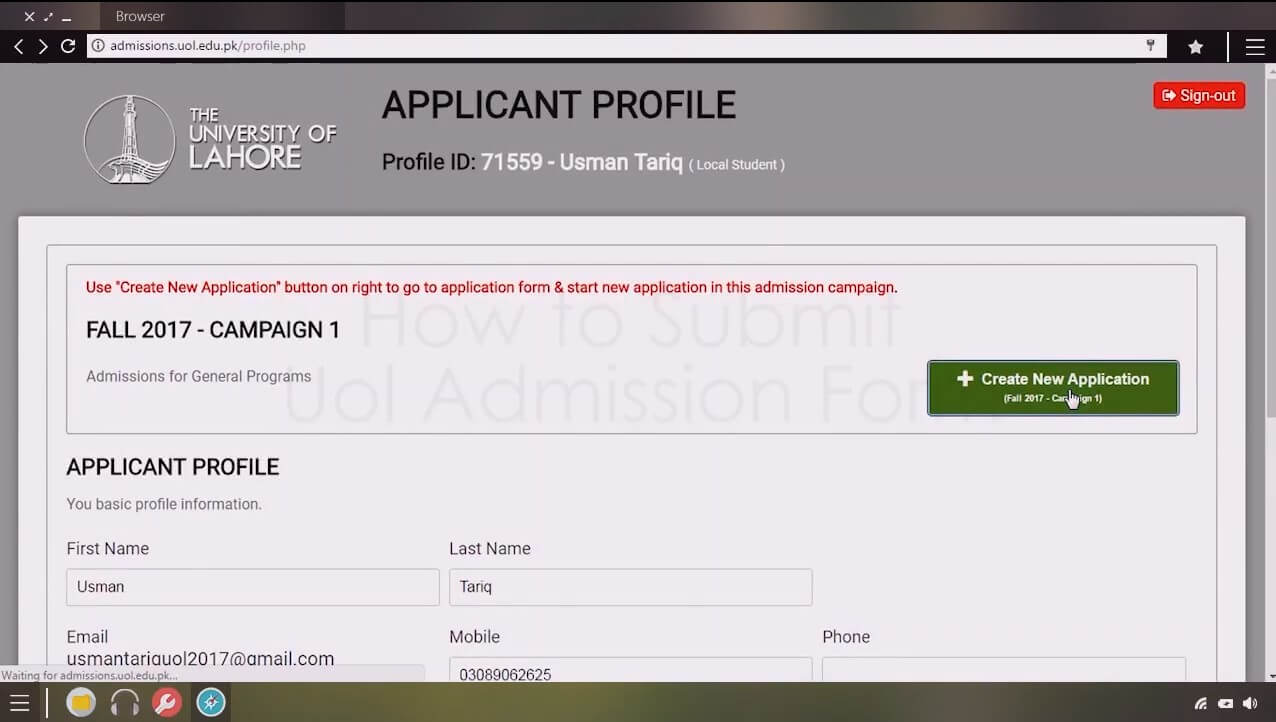
Step 5 – Create New Application
New click on Create New Application.
Step 6 – Select 3 Degrees
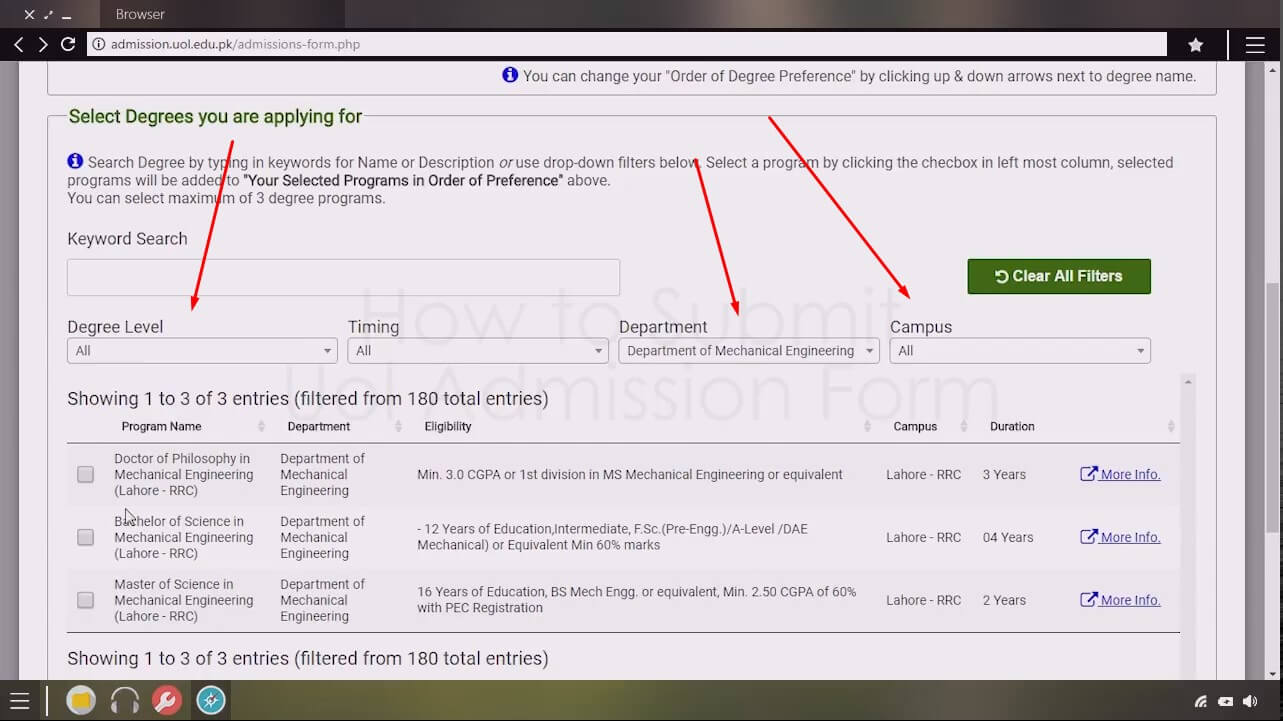
Now the most important task comes into play. You have to select 3 degrees that you want to be selected for UOL.
You can select the specific department that will show you the degrees. You have tick the program which you want to selected. Once done, click NEXT.
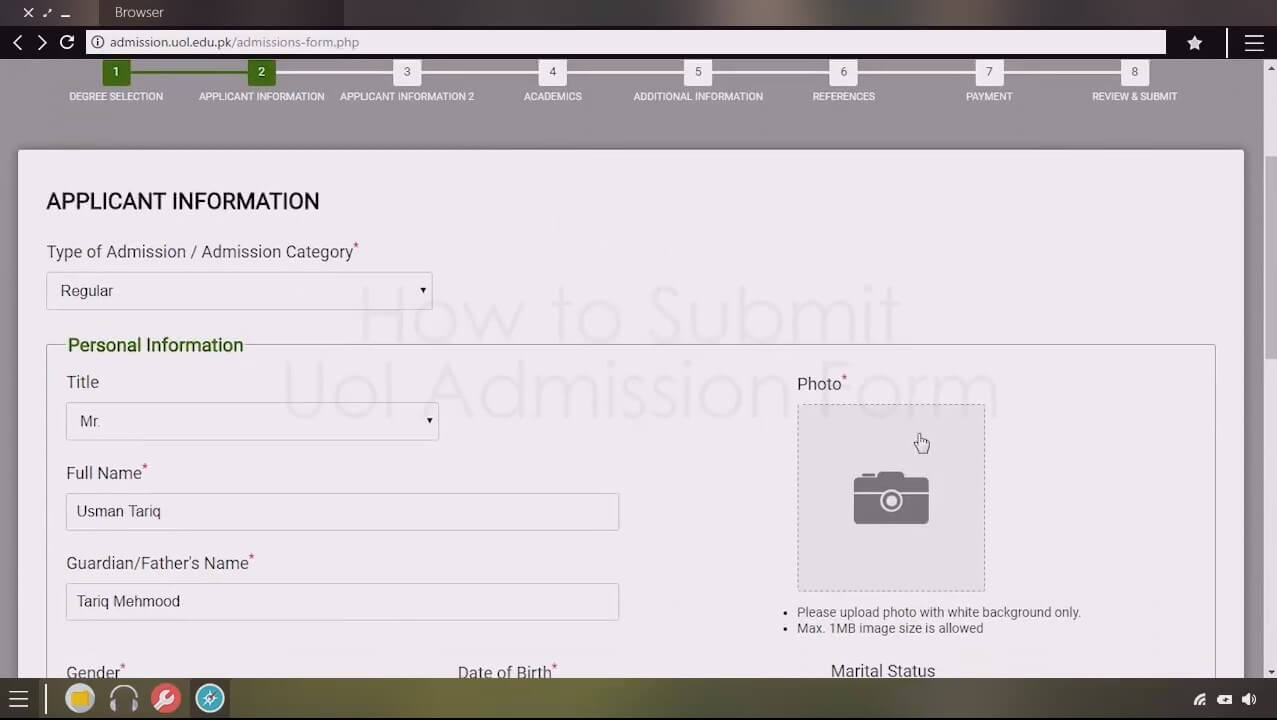
Step 7 – Applicant Information and the Picture
Provide the essential information. You have to upload the picture will white background. The size should be less than 1MB. If your photo is big in size, you can reduce size with
this site where you have to upload the photo, click continue, it will make the photo less than 50%.
Now click Next and fill the Applicant Information 2 where you have to write the NIC of your father and other similar information.
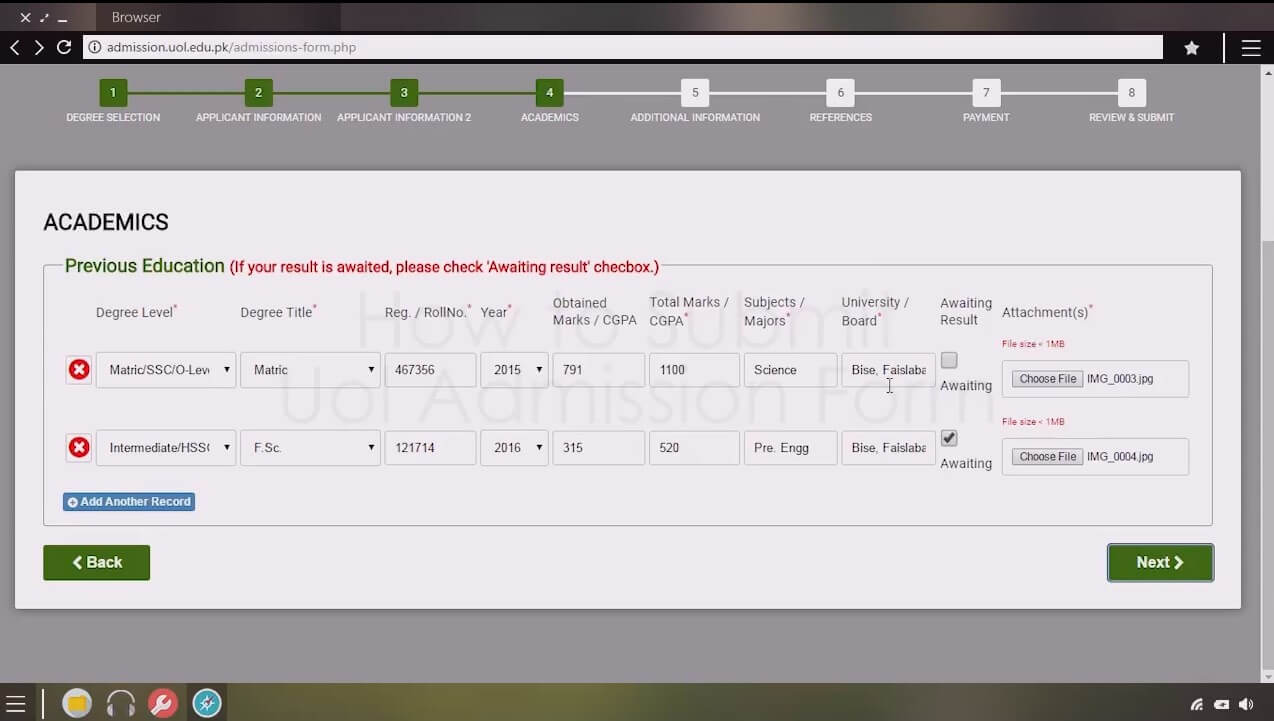
Step 8 – Academics Information and Attachment
You have write your marks you got in SSC and HSSC and upload the attachment. You can take pictures with your smartphones, but it should be visible, and then upload.
then click NEXT. In the Additional Information, you can provide your work experience, extracurricular activity and Disability.
The same goes for References if you have, you can give.
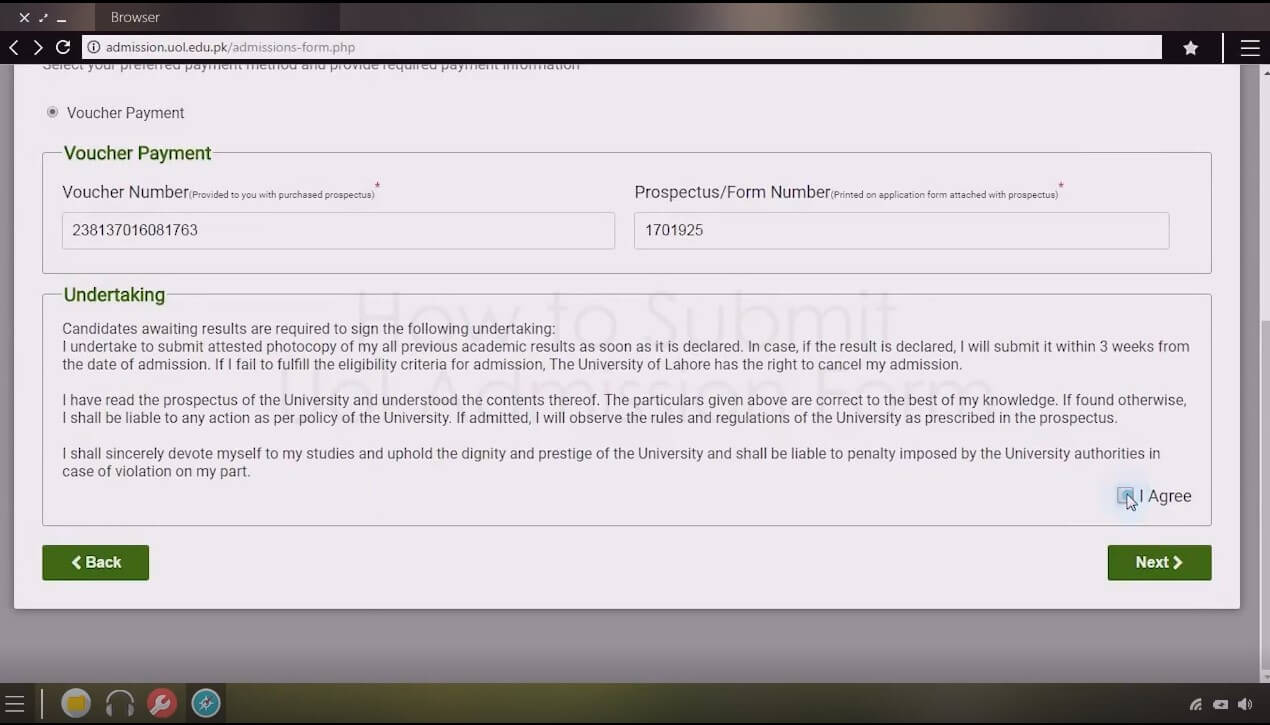
Step 9 – Payment
Then you have to write the Voucher Payment and Prospectus/Form Number. This task is somewhat daunting because you have to buy the prospectus and deposit the money to the bank.
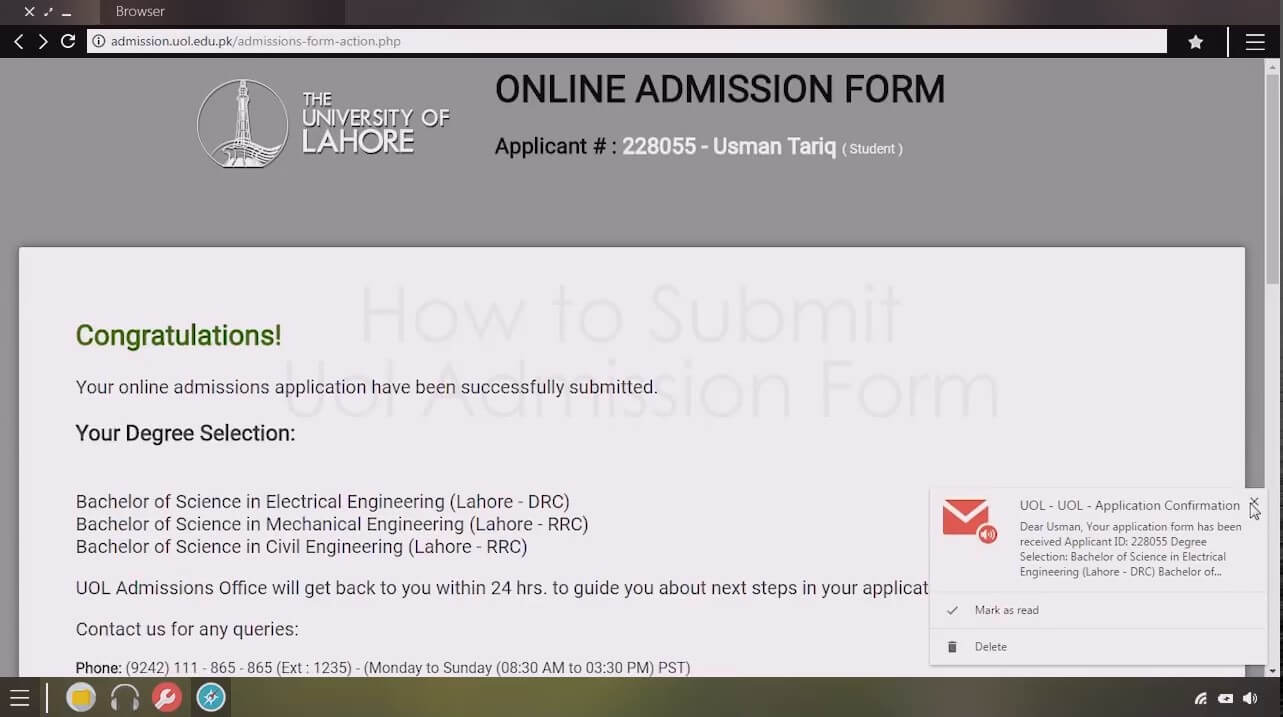
Step 10 – Review and Congratulations!
You have to review the information that you have filled. In case, you find something wrong, you can go back and edit the wrong information. Then click Submit.
Now ready for the Entry Test!


